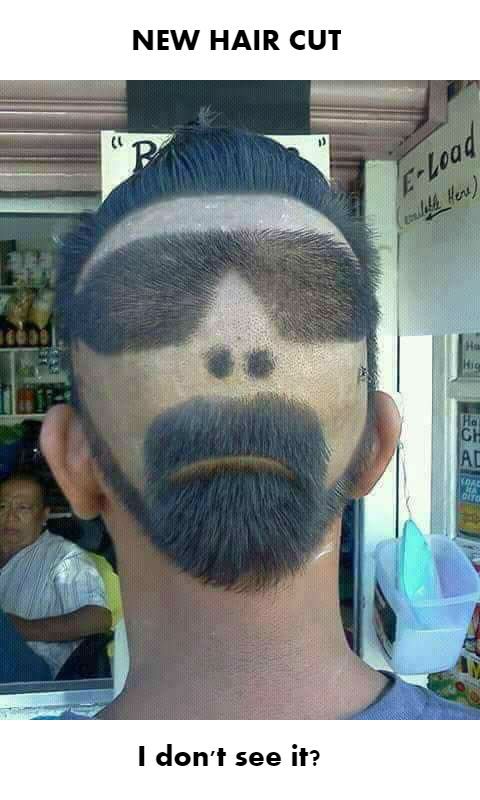
Welcome to how to cut hair!
To achieve a low taper fade, follow these steps for a clean and stylish look: best site

Prep:
Start with clean, dry hair. Ensure you have the necessary tools: clippers, a comb, trimmers, and scissors.
Select Guard Size:
Determine the guard size based on how short you want the fade. For a low taper, start with a larger guard size like a #3 or #4.
Create Guidelines:
Use the clippers without a guard to create a guideline around the bottom perimeter of the hair. This will be where the fade starts.
Fade the Sides:
Begin fading from the guideline you created. Start with the clippers at the guideline and gradually move upwards, flicking the wrist slightly as you go to blend the hair. Use smaller guard sizes as you move up, such as #2 or #1, to create a gradual transition.
Blend the Fade:
Switch to a shorter guard size or use the clipper without a guard to blend the faded area into the longer hair on top. Use a scooping motion with the clippers, gradually decreasing the length as you move up the head.
Detail Work:
-Use trimmers to clean up the edges around the hairline and ears. Pay attention to detail to ensure crisp lines and a neat appearance.
Check for Symmetry:
Regularly step back and assess both sides of the head to ensure symmetry and consistency in the fade.
Blend the Top:
If necessary, use scissors to blend any harsh lines between the faded sides and the longer hair on top. Use a comb and scissors to carefully trim and blend the top section for a seamless transition.
Refine and Finalize:
Take your time to refine the fade, making any necessary adjustments to ensure a smooth transition between different lengths of hair.
Finish and Style: Once you're satisfied with the fade, wash the hair to remove any loose hair clippings. Style the hair as desired using pomade, gel, or other styling products for a polished look.
With practice and attention to detail, you can master the technique of creating a low taper fade that enhances your overall appearance.Here's how you can make bold and italic text.
Here's how you can add an image: